Skip to content
How to Apply Vinyl Stickers Without Bubbles (Step-by-Step Guide)

Vinyl stickers and decals are one of the easiest ways to customise vehicles, boats, windows, and equipment. But one concern many people have before installing a decal is getting air bubbles under the vinyl.
The good news is that applying vinyl stickers is actually very simple when you follow a few basic steps.
In this guide we'll walk through how to apply vinyl decals without bubbles, so your sticker looks clean and professional.
Tools You May Need
Before installing your decal, it helps to have a few simple tools ready.
Most installations only require:
- a plastic card or squeegee
- masking tape
- a clean cloth
- rubbing alcohol or surface cleaner
These items help ensure the decal goes on smoothly and stays in place.
Step 1 – Clean the Surface Properly
The most important step is preparing the surface.
Dirt, grease, or wax can prevent the adhesive from bonding properly.
To prepare the area:
- Wash the surface with soap and water
- Wipe it down with alcohol or a surface cleaner
- Dry it completely with a clean cloth
The surface should be clean, dry, and smooth before installing the decal.
Step 2 – Position the Decal
Before removing the backing paper, place the decal where you want it.
Use small pieces of masking tape to hold it in place.
This allows you to check:
- alignment
- spacing
- height on the surface
Once you're happy with the position, you can move to the next step.
Step 3 – Use the Hinge Method
A common technique used by professionals is called the hinge method.
To do this:
- Place a strip of masking tape across the top of the decal
- Lift the decal upward like a hinge
- Carefully peel the backing paper off
This keeps the decal aligned while you install it.
Step 4 – Apply the Vinyl Slowly
Once the backing paper is removed, slowly lower the decal onto the surface.
Use a plastic card or squeegee to press the vinyl down from the centre outward.
This pushes air out and helps prevent bubbles.
Work slowly and apply steady pressure.
Step 5 – Remove the Transfer Tape
Many decals come with transfer tape on the front.
After the decal is firmly applied:
- Wait a minute for the adhesive to bond
- Slowly peel back the transfer tape
- Pull it away at a low angle
The vinyl lettering should remain on the surface.
What to Do If You Get a Small Bubble
Small bubbles are common and usually easy to fix.
If a bubble appears:
- gently press it toward the edge with a card
- or use a small pin to release the trapped air
Most small bubbles disappear over time as the vinyl settles.
Ideal Conditions for Applying Vinyl Decals
Temperature can affect how vinyl behaves.
The best installation conditions are:
Between 10°C and 25°C
Avoid installing decals:
- in extreme heat
- in very cold weather
- on wet surfaces
Stable conditions help the adhesive bond properly.
How Long Vinyl Stickers Last
Quality outdoor vinyl decals are designed to last for years.
Most premium vinyl stickers last 5–7 years outdoors depending on exposure to sun and weather.
Proper installation helps maximise their lifespan.
Where Vinyl Stickers Are Commonly Used
Vinyl decals are used on many surfaces including:
- cars and utes
- 4WD vehicles
- fishing boats
- workshop equipment
- windows and signage
Because they are easy to apply and remove, vinyl decals are popular for both personal and business use.
👉 Browse our vehicle and marine stickers or check out our business and compliance stickers for professional signage.
Final Thoughts
Applying vinyl stickers doesn't need to be difficult. With a clean surface, careful positioning, and a simple squeegee technique, most decals can be installed in just a few minutes.
Taking your time during installation ensures your sticker looks smooth, professional, and bubble-free.
Once installed properly, a quality vinyl decal can last for years in Australian conditions.
Related Products
-
 "Try Me" Stickers – White Text on Red | Retail Product Decals | Australian Made
 -
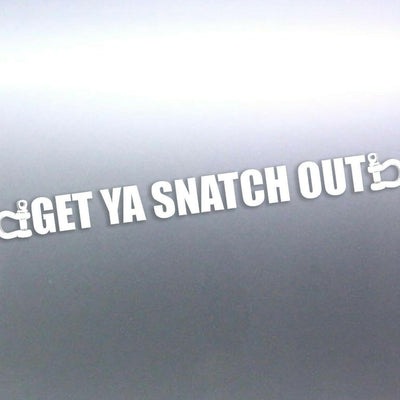 1 Meter long Get ya Snatch out Sticker vinyl cut 4x4 Decal long rude funny your
 -
 1.5 Meter long Get ya Snatch out Sticker vinyl cut 4x4 Decal long rude funny you
 -
 1.5 meters sticker vinyl cut Decal Aussie corona social distance distancing Bugs